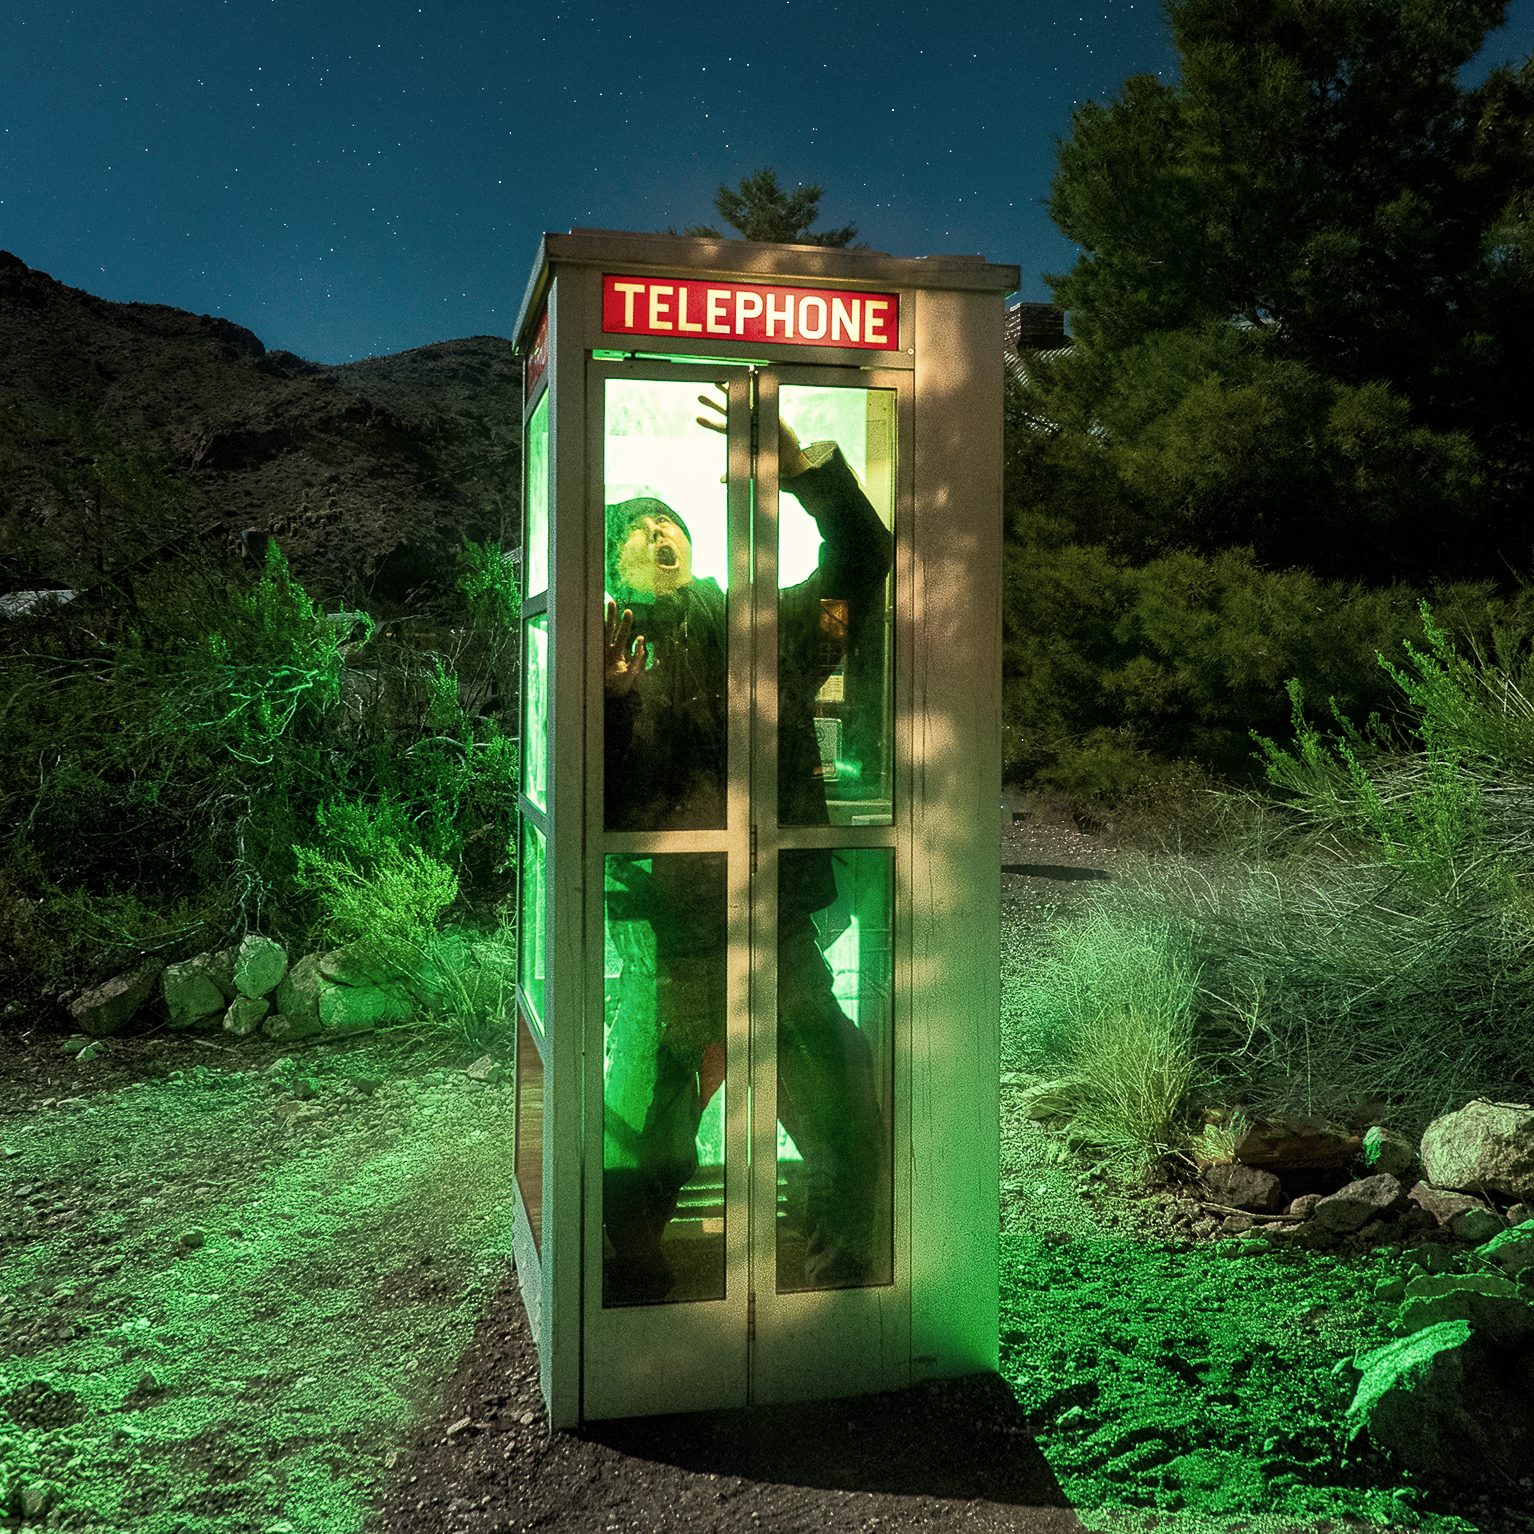
Radiant Photo processes photos instantly … and does so miraculously well. But how are its Color Grading controls?
What is Radiant Photo?
When you open an image, Radiant Photo analyzes each image and suggests edits that it feels is best for each photo. Rather than applying presets, it attempts to bring out color, detail, and light individually for each photo. After this, you may use additional Quick Edit, Detailed Edit or Color Grading controls to tweak the photo further if you wish.
It’s this last one, Color Grading, that we will touch upon in this article.
What is color grading?
Color grading is a post-production process you use to change the visual appearance of a still image or video. This can be anything from the color itself to saturation, contrast, detail, and hue, black level, white balance, or even converting to black and white.
Why is this important? For two reasons. You can fix color issues such as saturation, tint, or hue to create something that looks more natural or at least “better,” whatever that is to you. But also, you can change the whole mood and feel of an image or video.
Radiant Photo offers a very wide range of color grading choices, including black and white. It’s designed to be a finishing step. And of course, you can adjust any of the options to taste. You access this by simply selecting “Color Grade” from the very top. Let’s have a look at a few examples.

Golden Dream
As you can see, Radiant Photo offers these as a sort of preset although it also remaps the colors and tones as well. These operate independently of the adjustments in the Quick Edit or Detailed Edit Menu. Consequently, if you feel you do not want to apply color grading, simply turn it off.
The first example is Golden Dream. As with all presets, you may quickly adjust the strength, saturation and/or contrast to your liking.
Night Shift
What night photographer is not going to use a selection called “Night Shift?”
Indigo
And of course, a night photographer might also like selections such as “Indigo!”
Conclusion
The Radiant Photo Color Grading is another way to achieve specific looks easily. You can experiment with these if you wish to see what you like best. And of course, you may apply adjust the strength, saturation or contrast to your liking, whether over-the-top or subtle. This is best done after working on your photo in Quick Edit or Detailed Edit as it is intended as a finishing tool. I would think of the color grade selections as either a good way to experiment with different looks or a starting point after which you make some adjustments before completing your image.
I used Radiant Photo from Radiant Imaging Labs V: 1.1.0.245.


