

In October 2021, Adobe released a huge upgrade to their masking tools in Lightroom Classic. These updates make masking in Lightroom much more efficient and user-friendly.
For a more in-depth look at the whole upgrade, check out this video. But for this article, I wanted to highlight the one small feature that I find myself using on a lot of post-processing sessions now: Inverting the subject selection mask.
What inverting the subject selection mask does
The Invert checkbox allows you to quickly select everything in an image except your subject. This allows you to make the adjustments that you want to the entire background, while leaving your subject alone. Previously, I would often use a radial gradient for this type of work. Now, the Invert checkbox allows you to be much more precise in your adjustments.
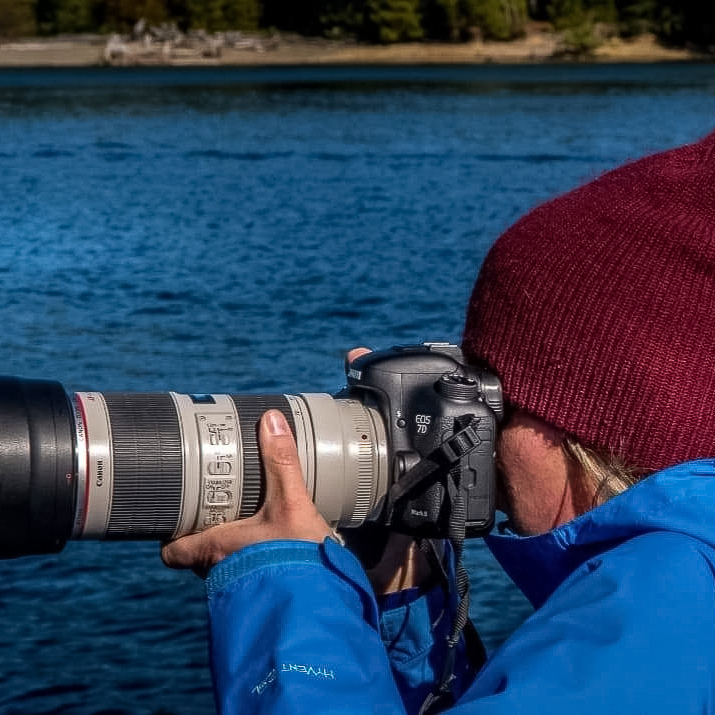
The most frequent use of this function for me is when I want to reduce the highlights in the background around my subject, or slightly decrease the exposure. I do a lot of outdoor photography and having this option is great to help your subject pop out a little more. Below I’ll show three simple steps to using the Invert checkbox.
1. Select subject
Open the masking tools in Lightroom Classic and click Select Subject. Adobe Sensei generally does a great job at selecting your subject, but you also have the option to modify the selections if needed.


2. Click the Invert checkbox
Inverting the subject selection mask will leave everything but your subject selected.

3. Make your adjustments
Fine-tune adjustments as desired, then click Done when finished.

Before and after


Inverting the subject selection mask in Lightroom allows you to make precise adjustments to your images really quickly. That being said, less is more when it comes to these types of features, so make sure you don’t overdo it and have your image look unnatural.


Thats great but the one thing that confuses me is that now there is kind of a dual command in the masking panel in lightroom. One is simply “Invert Mask” which I can understand as being what is described above here but also now there is another command called “Duplicate and Invert mask”. Presumably they are very similar but there must be a subtle difference in them. The question is, when do you use which and what for, and what exactly is the difference between them…What does the duplicate actually do, plus having once used one or the other how… Read more »
Hey Paul, I’ve used that new feature simply as a time saver. Say you select subject and apply some edits…but then want to also apply some edits to everything but your subject. Instead of starting a whole new subject selection mask and then clicking invert, you can just hit “duplicate and invert” you have a new mask ready to be used with your entire background. It is a new, blank slate mask, it does not hold the same edits you’ve made to your subject. Does that make sense?
Thanks very much for the explanation Sara though I am though still a little confused by it. I can see what it does, I think, in that you select subject, edit that as required and then select duplicate and invert and that results in a newly edited subject being displayed against an unedited background which is then itself ready for adjustment. But can you not just select subject, edit that and then just select invert as before to achieve the same result. That’s the part I am struggling to understand so I’m obviously missing something here. Just why do you… Read more »