

One of the newest upgrades in Photoshop CC was the upgrade to make an image larger without loosing detail. In the past when you would re size an image you would lose detail in your image. Now with the new CC they have found a way to keep your image preserved without loosing much detail.
Over the weekend I was shooting some family pictures and my assistant(aka my daughter) messed with my settings half way through the shoot and changed my RAW settings to JPEG. Luckily it was JPEG large but still my image size in RAW was approximately 25 mb and now in JPEG they were sitting at 8 mb. Honestly, that’s still a good size for most prints. However, it got me to wonder how good the new CC was for upsizing. So I decided to play.
Step One
Bring your image into Photoshop

Step Two
Go to Image–>Image Size as seen here:
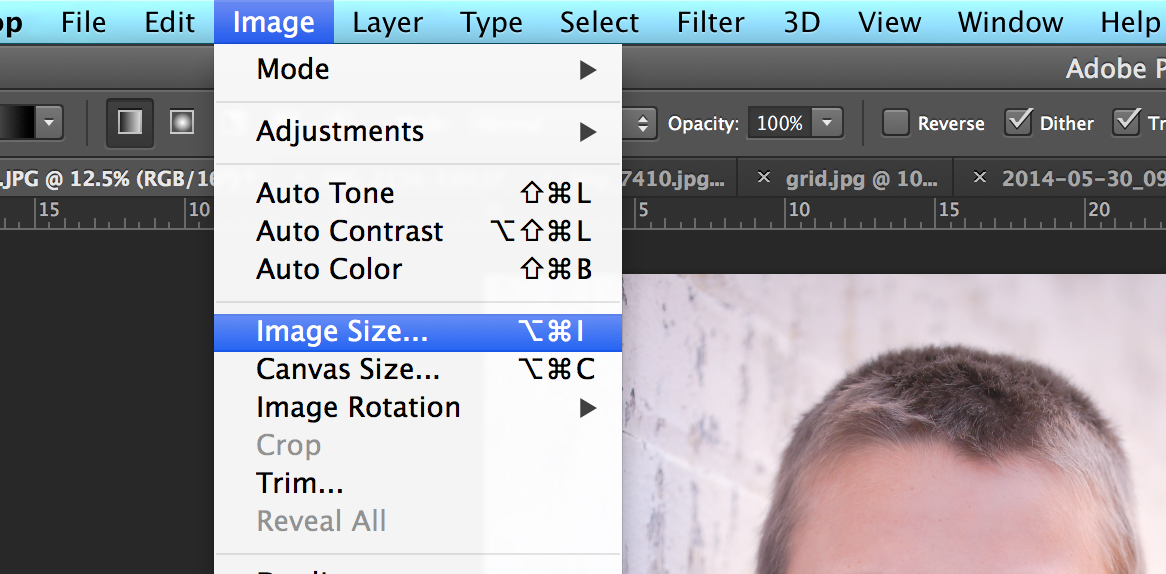 When the dialog box appears you will notice you have some options. Personally I like to switch to percent so I can judge more efficiently how much larger I’m making the file. Some recommendations say to adjust 10% at a time. Next play with re-sample drop down options. For me, preserve details worked the best. You can try that or bicubic smoother and use the preview pane to judge which one works the best for you. Then adjust your reduce noise as needed.
 Finally once you are satisfied, click OK. Past versions did this fairly fast but with the new CC updates, it might take a minute for Photoshop to process the image.
Conclusion
My image size improved dramatically and that allows an option for my clients to make a huge print that will still look great. I use to work at a print shop and we up sized photos on regular basis. The new Photoshop CC version of up sizing, does a fantastic job. I’m very impressed on how well it did to this portrait. This feature not only works great on digital prints, but it will work great on scans of old photos you are trying to preserve and possibly print.


There is two things with upgrade to the image size menu option. Finally a big preview. This is fantastic and a lttle overwhelming when you first open it up and second according to many experts there is no longer any need to upsize in 10% increments, just type in either the new dimensions or percentage select the resizing method and click ok and wait for the magic to occur.
Correct me if I am wrong, but when it comes to pixel dimensions, there should be no difference between a RAW image and a maximum size JPEG. There should, however, be a noticeable difference in image quality due to the fact that the JPEG is saved with a lot more compression than the RAW image. Add to that the fact that the RAW saves all the unprocessed data that is usually discarded by the camera when saving as a JPEG, allowing you to change settings and tweak your final image on your computer.