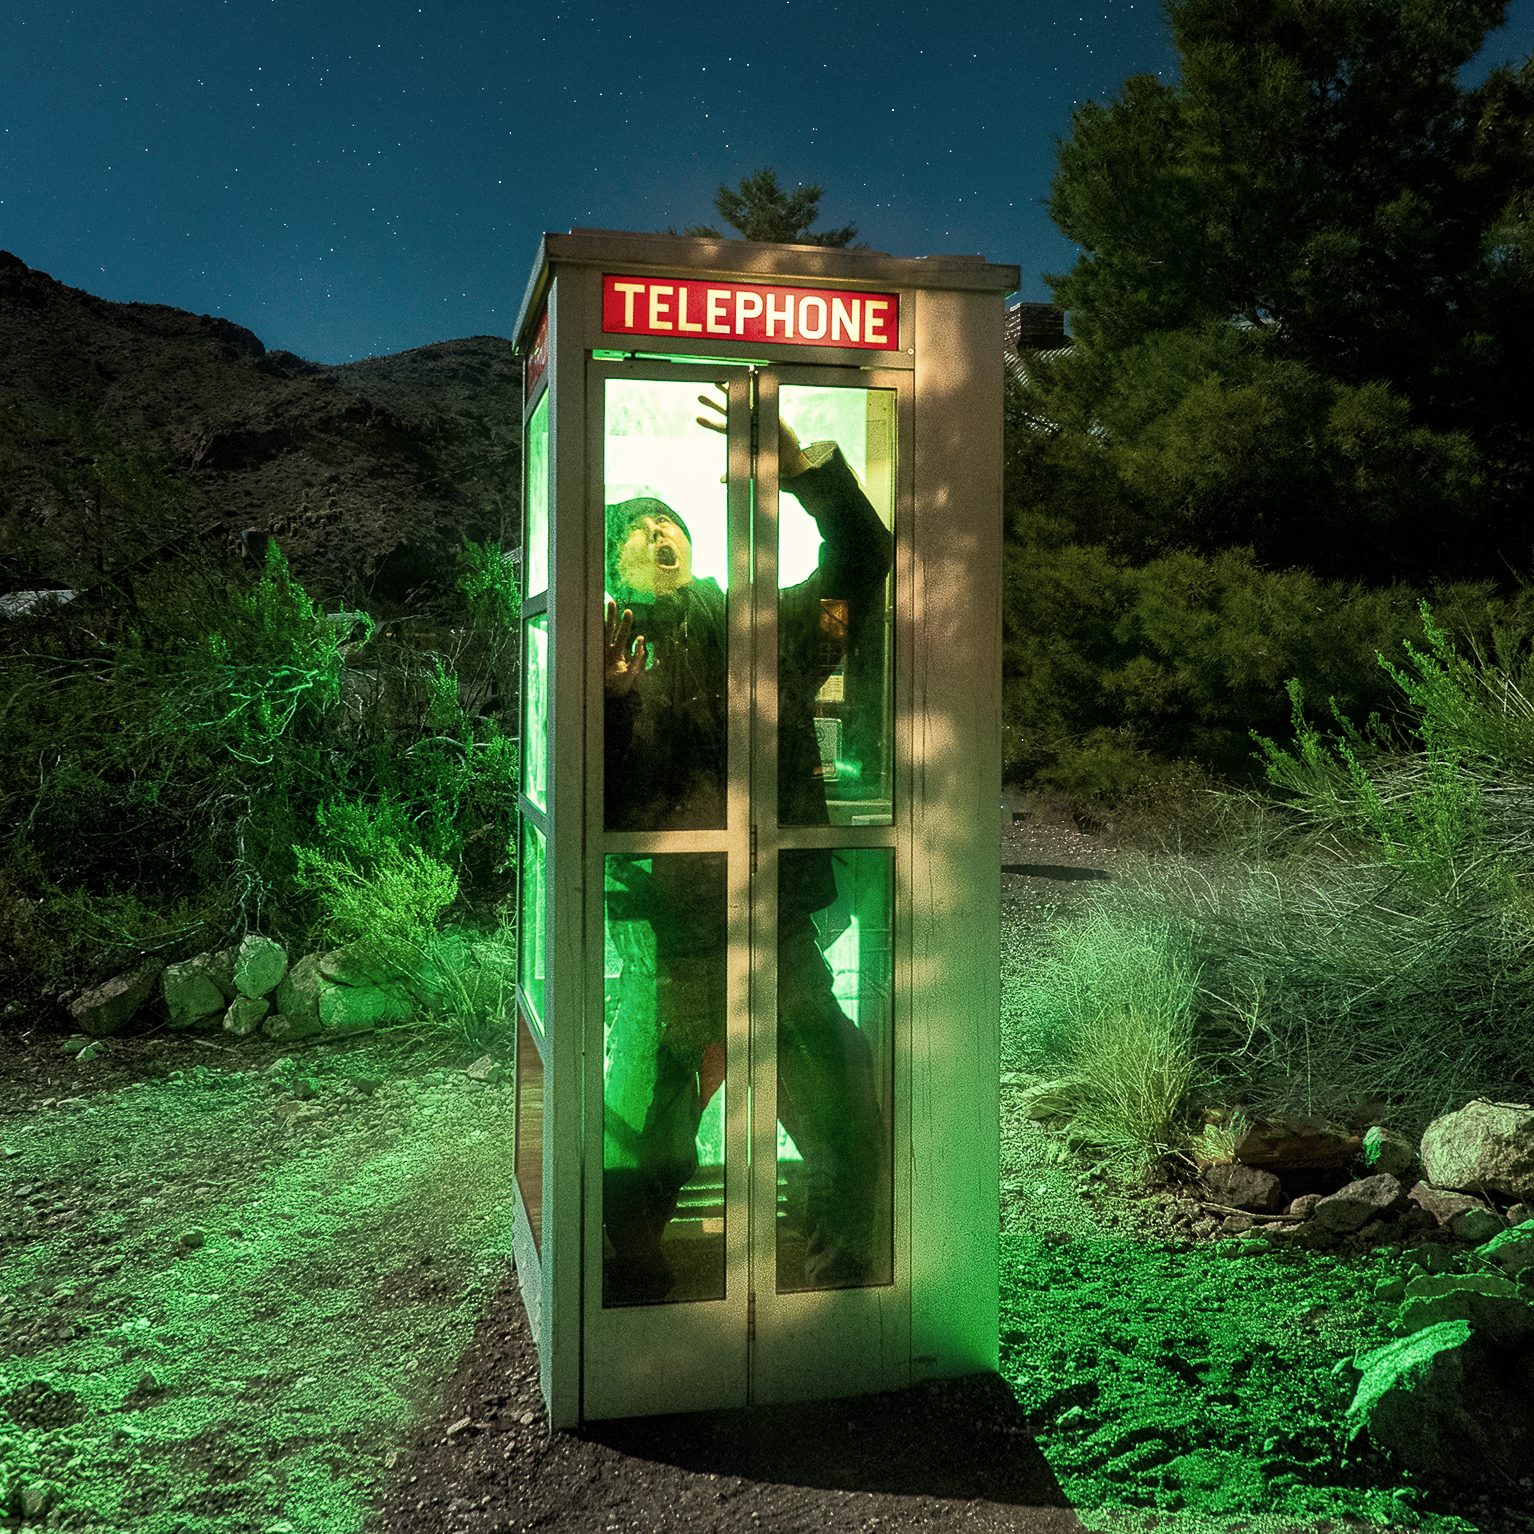
The Perseids are often the most spectacular meteor shower in the Northern Hemisphere due to frequency as well as its appearance in August. There are typically about 100 visible meteors per hour on average, although this obviously depends on your weather and light conditions.
Generally speaking, you want to head out late at night but still before sunrise, and obviously, away from light pollution as much as possible. If possible, also go out when the waning moon is not in the sky. You may still see meteors even with the moon, but of course, you are trying to maximize your chances of seeing meteors.
The radiant, where the meteors originate, will be more or less north, drifting northeast. However, you do not necessarily need to face north or northeast — other parts of the sky may feature longer meteor streaks.

How to photograph the meteor shower
I would suggest approaching your meteor shower photography as you would photographing the starry sky while keeping the stars as pinpoints. If you have an ultra wide-angle lens, such as around 14mm or 15mm, I would suggest using that, as you will increase your chances of photographing a meteor. And I don’t have to mention that you should use a tripod, right?

Camera settings
Try for something like a 20 to 30-second exposure. Use the widest aperture that looks good. Something like f/2.8 works great.
Use an ISO of 1600 to 6400, depending on how dark the sky is and how much ambient light there. Take several photos and make certain your settings are to your liking!
Focusing
Focusing is the same as if you were photographing stars or the Milky Way. Infinity, right? Turn off your autofocus. You won’t need that. Now turn on Live View and find a star. Zoom in on that using Live Focus. Manually twist your focus ring on the lens until that star looks sharp and like a pinpoint and not an amorphous blob.
If this doesn’t work, get a friend to stand about 50 feet away with a headlamp and hold it still. Then focus on the headlamp, doing the same thing. Take a few test shots and zoom in to make sure that the stars are in focus. Good? Then tape down the focus ring if you wish with some gaffer tape to make sure that your focus doesn’t change through an accidental bump.

Keep your camera clicking away
You can’t wait for a meteor to streak across the sky and then try to trigger your camera. It would already be too late!
The secret is to keep your camera continuously clicking, then lean back and enjoy the meteor shower.
The other secret? Turn off Long Exposure Noise Reduction (LENR) on your camera. Why? Because it will pause for the length of the exposure to apply noise reduction, and we don’t really want that here. We want the camera to continuously photograph.
We will discuss two ways your camera continually taking photos.
Wired remote shutter release
Use a cheap remote shutter release. You can get one that attaches to your camera via a cable. Once you have this, set your camera to Continuous Burst mode. This is the same mode that allows you to shoot rapid-fire sequences like what sports photographers do. We night photographers can use these too, but in slow motion.
Simply set your camera to your ideal settings, such as a 20-30 second exposure, f/2.8 and ISO of 1600-6400, depending on how bright the scene is (or how wide your aperture is). Lock down your remote shutter release. This should keep your camera clicking merrily away, taking one photo after another. Many cameras have a limit of 100 consecutive photos, so be aware of that and set a timer if you wish. Then simply start it up again.
Use an intervalometer
Your camera may have an intervalometer built in. Or you can purchase an external intervalometer and attach it to your camera. There are myriad options including Bluetooth camera controllers as well. You can set the time of exposure, time between each photo (which should be as short as possible, typically one second), and how many individual photos you wish to photograph.
Wow, I have a lot of photos!
You may have hundreds of photos. That’s alright. It’s digital. Just make sure you have a good sized memory card.
Scroll through and find the ones that have meteors. Meteors don’t blink and they usually are tapered, looking like streaks.

Don’t delete any of those photos either. If for some reason the meteors have been shy and didn’t show up in your photos, turn them into a time-lapse! Or star trails! Or both!
Quick checklist
- Camera with manual settings and your widest lens with a large aperture
- Remote shutter release or intervalometer
- Tripod
- Gaffer tape (I like orange colored tape so I can see it at night)
- Headlamp (try to use this as little as possible to preserve your night vision; use a red headlamp if possible)
- Lawn chair
- Favorite beverage
- Snacks
- Friends
Going out to photograph the meteor shower this weekend? Submit your favorite images to the Photofocus Flickr group!


