

This article is about how to use Luminar 2018 with LUTs, to edit your RAW DJI Drone Images (DNG). Using Luminar 2018 in conjunction with LUTs can be a great starting point for your DJI Drone RAW images, to help you create that look you want. I will be demonstrating this on a Mac. In the Windows world the process should be very similar. Want to know what the heck a LUT is? Click here.
Follow along
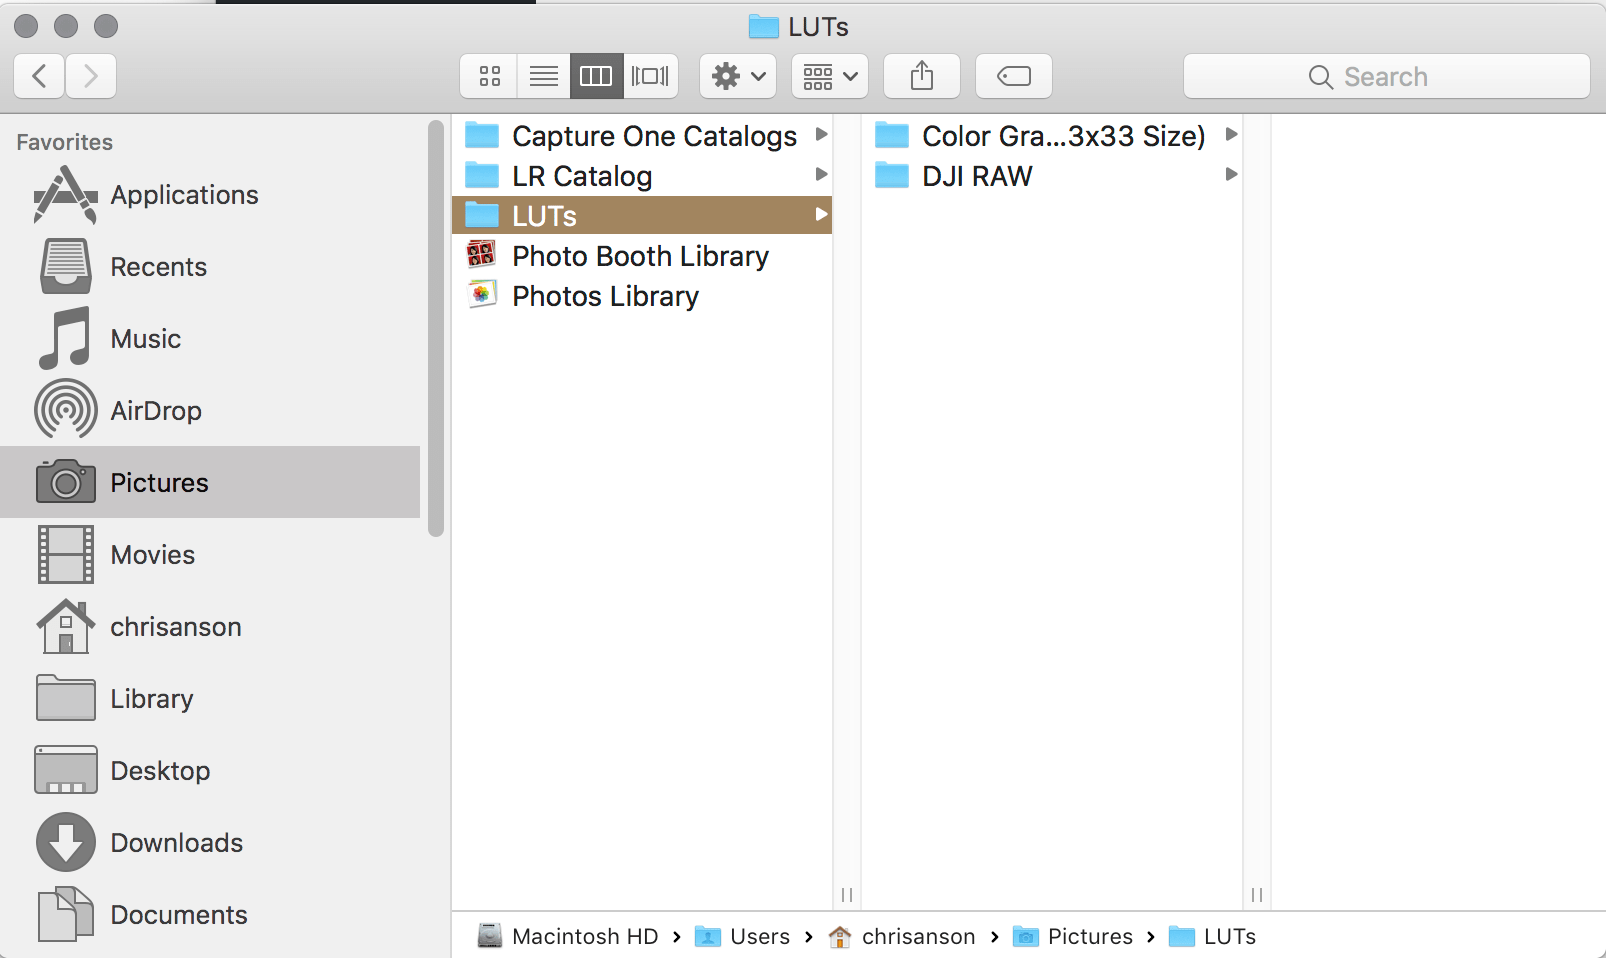
If you want to follow along then you will need to have Luminar 2018. You can download a trial version here. You will also need the DJI specific LUTs that you can download here DJI RAW. Once you have downloaded the DJI LUTs, unzip them and create a folder name LUTs, in the Pictures Folder, and move them there.
Now start up Luminar 2018 and load in one of your DJI RAW photographs. It will be a .dng image.
Watch the video below for how to apply LUTs to your DJI RAW photos.
The approach I show you in the video has you applying the LUTs first and then making adjustments in the RAW Develop filter. Another approach is to adjust the settings in the RAW Develop filter and then apply the LUT of your choice, fine-tuning the LUT settings. I think that however you approach this, you’ll find yourself moving back and forth between the RAW Develop and LUT Mapping filters, making adjusts, to get a look that works for you.
And you are not limited to just using the DJI LUTs. You can use any LUT you want. That’s part of the fun. Explore and see what you like best! In fact, Skylum has a link for free LUTs on their website here.
Fly safe and have fun!


No offence but that image looks completely off. The colours are a major mess and looks like a HDR
I appreciate your honest feedback on the image. The thing about LUTs is that they change a lot of aspects of the photograph and while you may not like the results I got, you can still use the techniques in the article to create images that you like. LUTs are just another tool to help you create what looks good to you.