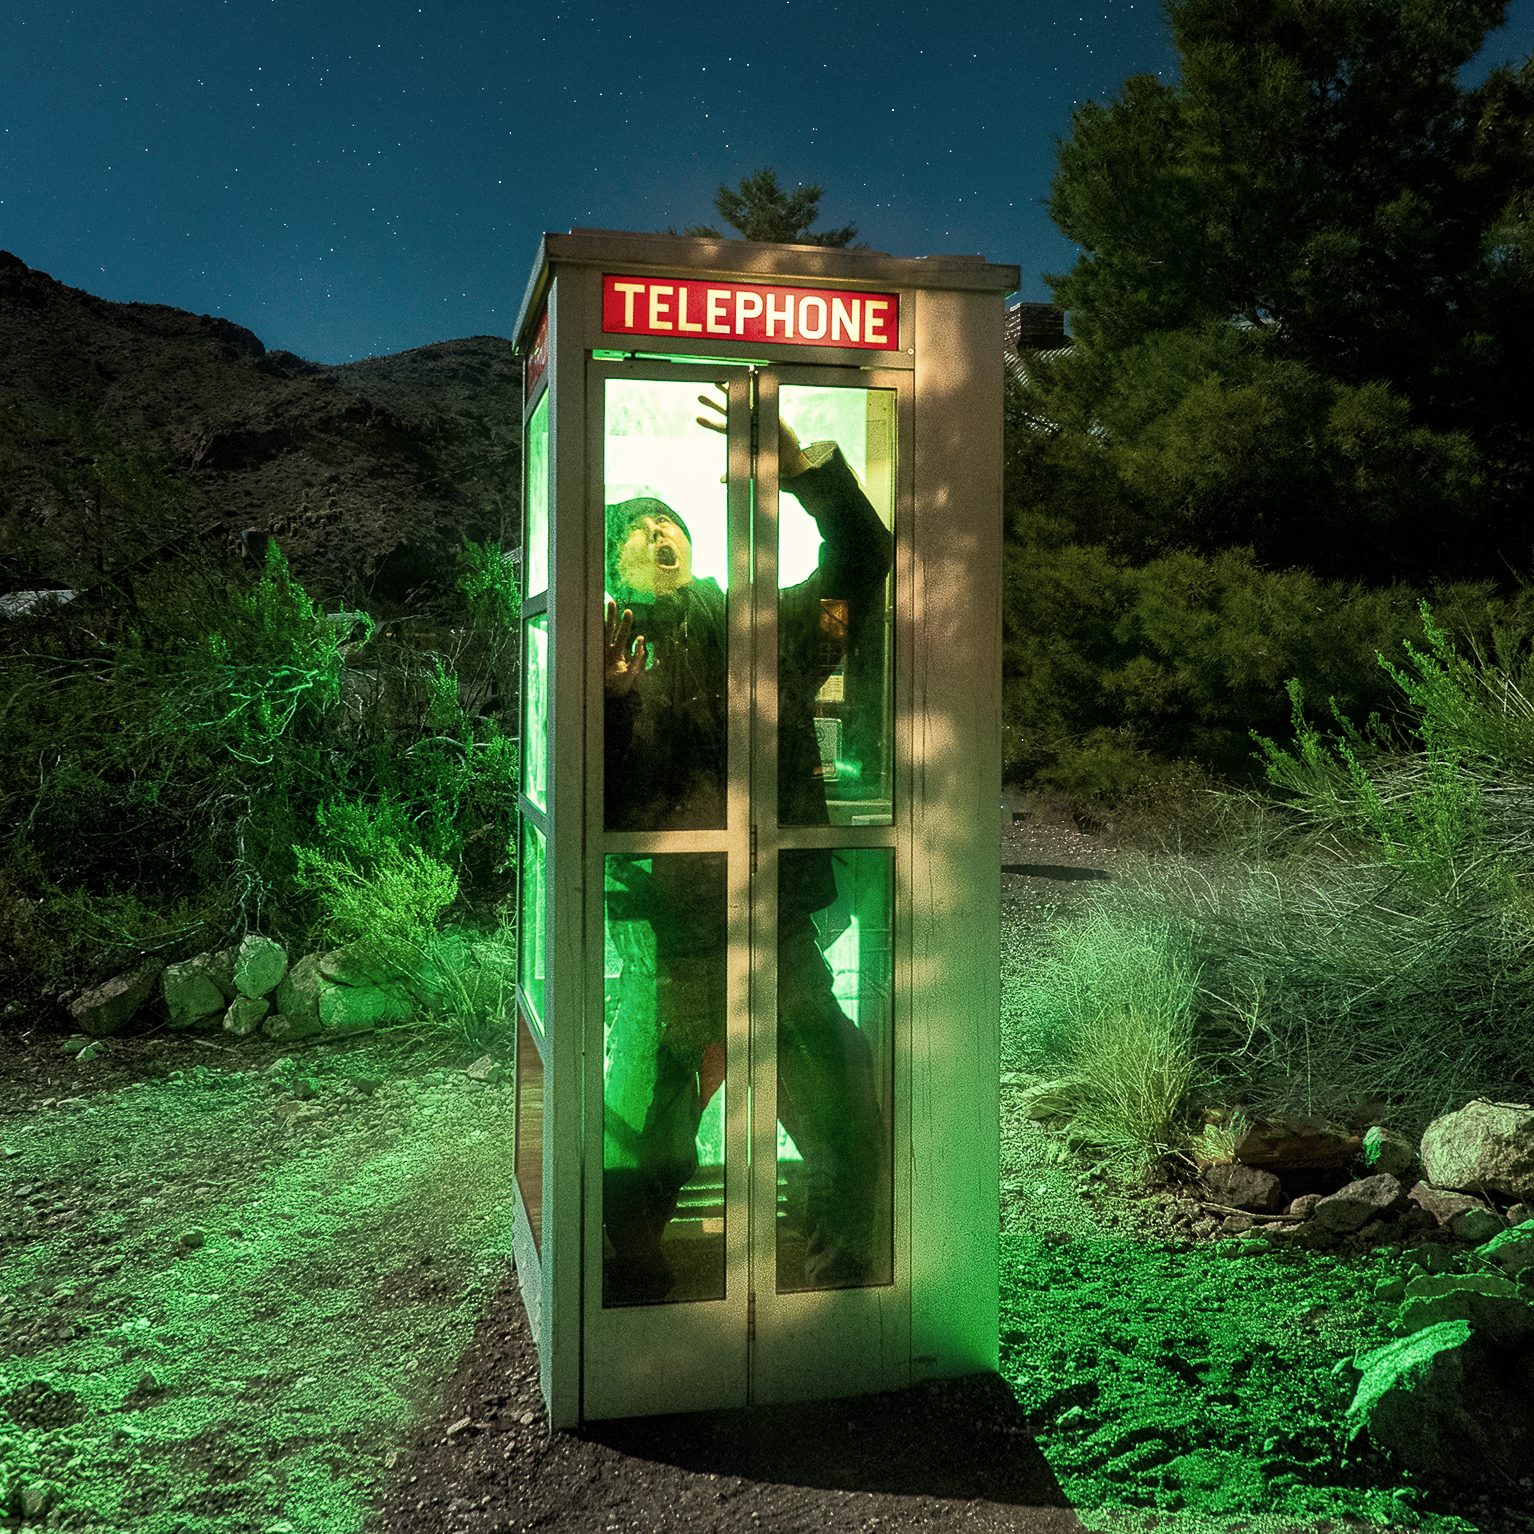
You have tried light painting. However, it never looks good. Here’s three reasons why that is. I’ll offer suggestions to up your light painting game.
But first, I’ll briefly describe what light painting is.
What is light painting?
Light painting is a term that is often used loosely to describe any addition of light to a night photograph. Really, though, light painting is a technique that uses a handheld light source to illuminate a scene during a long exposure. You are quite literally painting the scene with light. Night photographers have used this technique for many decades.
Now let’s examine what creates awful light painting and what we can do to improve it.


Reason one: You’re shining your light from behind your camera
Above: the left photo is from directly in back of the camera. The right photo is from camera right and to the side of the columns. In both examples, I am illuminating the columns with the handheld flashlight from the same distance and for the same amount of time.
When someone takes a photo of you using a flash from a camera phone, do you feel it’s flattering? Of course not. It looks unnatural, flat and often, over-exposed. In short, it looks ugly.
If you light paint from behind your camera, you’re using the same angle. And you have even less reason to be doing this than using the flash using your phone’s camera. You have a handheld flashlight, after all. You can light paint from any angle you choose.
This might be the single biggest reason why your light painting might look bad.


A better approach: using more flattering angles
Above: Examples of illumination from different angles. The first one is from directly behind the camera. All illumination is for the same amount of time and distance from the flashlight to the statue.
Try different angles. Get away from behind your camera and walk around. Illuminate your subject from 45, 90 or 120-degree angles. You’ll be happy you did. This will pick up more texture and reduce the chances of your light painting looking ugly and garish. This article can help you understand flattering and dramatic angles from light painting even more. Check it out!
Reason two: You’re using too bright of a light
I am not sure why, but when purchasing a flashlight for light painting, beginning night photographers get really hung up on how bright it is. Perhaps it’s marketing. We’ve all seen ads that boast, “Make night look like day!” You don’t need something with 23 million lumens, however. This only creates hot spots, blows out highlights, and makes your subject look garish and ugly. This could possibly be tied with light painting behind your camera for the single biggest reason your result looks hideous.
A better approach: Dim that light
The light that I use most often, for example, is approximately 400 lumens. It’s bright, but it’s not absurdly bright. And it has adjustable brightness, so I usually use it at ⅔ of its maximum brightness anyway. If you are lighting up the nearby landscape, an abandoned car or building, or anything else, you really don’t need that much.
In fact, it’s preferable to use a dimmer light and slowly “paint” on the light using multiple strokes rather than blasting the subject once and hoping for the best. Your light painting will be more nuanced, beautiful, and professional. You will also greatly diminish the possibility of having hot spots or blown highlights.
All of this is especially true if you are photographing with a high ISO, such as when you are photographing the Milky Way. Your camera is set to photograph dim starlight, so using a bright flashlight is about the last thing you would need. Dim that light.
Reason three: Your light is not all that great
A lot of people who are trying their hand at this technique might grab any light source they have handy. This includes the light from their camera phone, their head lamp, or a cheap flashlight. This can result in a subject with little detail. It might look muddy, uneven, or have an unusual color cast.
A better approach: Quality flashlights that are still inexpensive
You don’t need an expensive light at all. There are plenty of flashlights that can look flattering for this technique. Try using an LED flashlight that allows you to control the brightness, has warm white light, and has high CRI (Color Rendering Index). A higher CRI helps to hold detail. You want detail. Generally, a CRI of 80 or above is considered good, and above 90 is really good.
There are numerous options for quality lights for light painting. This article reviews one such option for around $25.
Experiment!
I hope this article has helped inspire you to try different techniques and improve your light painting. This technique is extremely addicting, and tips like this can really help you realize your vision. Do you have any other tips for improving light painting? If so, leave it in the comments.


Good advice,as usual! I’m progressing in my light painting techniques, looking for that sweet spot or spots. Every time is a learning experience.
Thanks, Tony! The search is always on for the sweet spots, and it evolves over time, as you’ve discovered!