

While Capture One Pro 12 has my favorite RAW processing engine of all the editors that I’ve used, it also has a powerful set of masking tools. In this article, we’re going to take a look at how I use masking in Capture One to sculpt and enhance the light in my landscape photographs. Though I don’t talk about it in the video, layers are also an integral part of what allows us to work specifically on these areas of the photograph separately. We have our base layer called background and then we build other layers on top of that.
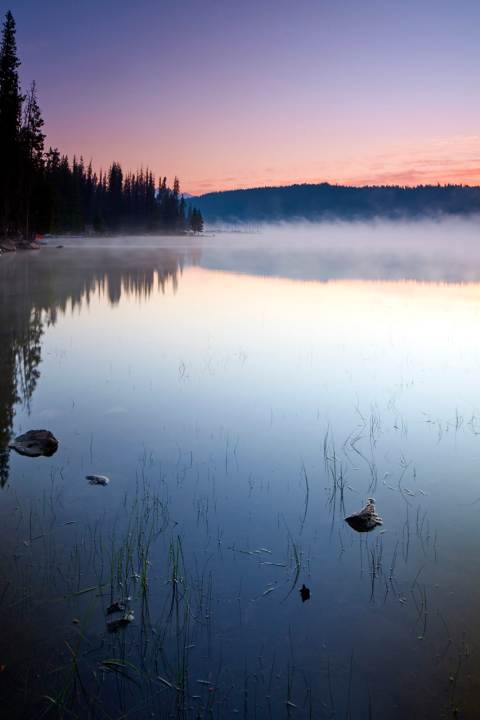
This is the starting image. I’ve used Capture One to do the initial RAW processing and done initial adjustments. Now let’s see what we can do with some masks in Capture One Also, note that the default mask color is red. I’ve changed mine in preferences.
Masking the sky
There are a number of ways I do this, here’s one way.
Here’s the before and after.


Masking the darker areas — mountain, trees and lake
Now I’m going to use the Luma Range tool and create a mask of the darker areas of the image.
Here’s the before and after.

Masking the lake and fog
Finally, I’m going to use the previous mask, make a copy of it and then using the Luma Range tool, I’ll invert the mask.
http://https://youtu.be/Ytx6UrW1t9U?rel=0
Here’s the final version with all masks applied.

Conclusion
Capture One Pro 12 has a powerful and amazing array of tools that can help you create the look and feel you want with your photography. If you haven’t tried it yet, here’s a link to a free 30-day trial.


In what world does the lead photo look good?
Marco, thanks for sharing your thoughts. The white balance of the photograph was off on the photograph that was uploaded. I uploaded another version of it with the white balance corrected.
Happens!