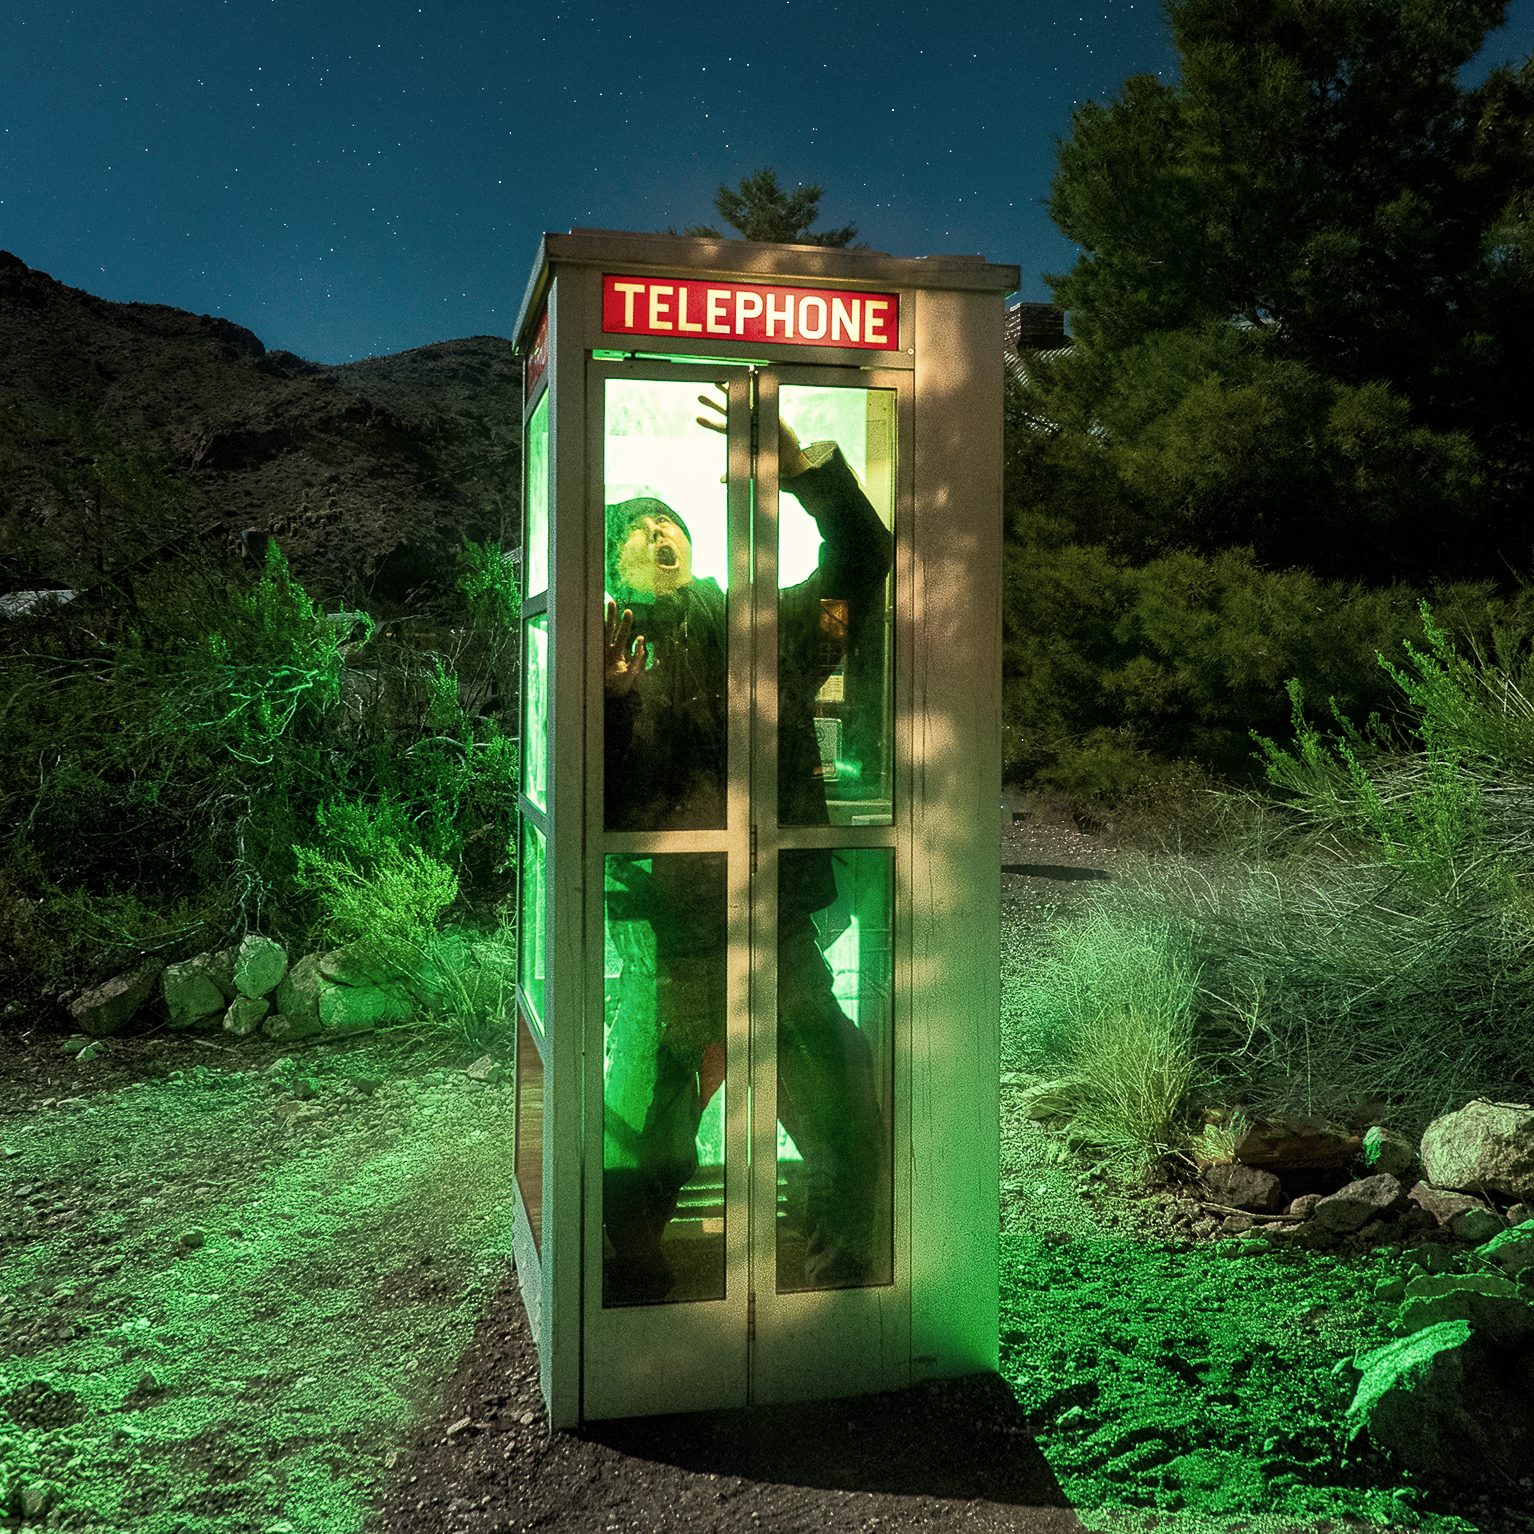
Why would you use two handheld lights to light paint? We’ll discuss why this can enhance your light painting images even more.
What is light painting?
Light painting is a term that is often used loosely to describe any addition of light to a night photograph. Really, though, light painting is a technique that uses a handheld light source (or two!) to illuminate a scene during a long exposure. You are quite literally painting the scene with light. Night photographers have used this technique for over a hundred years!
The two different lights that I used to light paint the truck
For this night photography trip, I took two lights. Both are capable of producing any color in the RGB spectrum. Warm white, red, blue, teal, green, or any other color of your choosing.
The first was my trusty ProtoMachines LED2. This is a very high-quality handheld light that is designed specifically for light painting.
The second light I had with me was the Lume Cube RGB Panel Pro 2.0, which I was testing in the field for a Photofocus review. While many people use panels in a stationary position when doing night photography with light painting, it’s not necessary. I will describe how I held the panel, and why I used it instead of the ProtoMachines.
Getting high
I came across this vintage REO F-22, created by the same company that made the REO Speedwagon truck which inspired the Illinois rock band to take its name.
I wanted to mimic the angle of the moon. However, as you can see, the truck was rather tall. What to do? I connected the Lume Cube panel to a tall telescoping pole and held it high over the truck. This is something that would be more challenging to do with the ProtoMachines light. But with a tiny panel light the size of a smartphone, it’s no problem. It’s also more likely to survive a fall than the other light.
If you look at the photo, you can see that the warm white light is coming from above and looks very natural. The moon is illuminating everything from the left of the camera. I simply created the same angle, enhancing the light that was already falling on the truck.
Getting red
I wanted the REO truck to have a little red to offset the giant white exterior. I first used a self-made snoot, a light modifier screwed on to the ProtoMachines light, to direct the light to the headlights. Here, they look like two large red illuminated eyes.
Then I removed the snoot. I turned the red light on again inside the truck cab and swept it around to create illumination and detail. If you look at the detail, you’ll notice that I am using a steep angle in the back wall and steering wheel so it picks up shadows and detail. It’s always important to be mindful of the angles in which you paint on your light. Part of the reason I mimicked the moon’s light with the panel, after all, is because I loved the way the moon was falling on the truck and how it brought out detail on the grille while keeping the right side in shadow. Beautiful.


What are your favorite light painting lights and techniques? Please tell about them in the comments!


Protomachines LED lights have been unavailable for some time now – the website just says ‘SOLD OUT’ for any of the current models. That’s why I’ve had to go to the much more difficult to use RGB Critter flashlights. It was also the motivation for picking up several Luxli Fiddle and Viola LED panels, which offer continuously-adjustable light color / settable white balance / special effects in a made in Norway-quality light. The Luxli app works great via Bluetooth for remote adjustment of color and intensity. Some of my work using these tools and Denis Smith’s Ball of Light Tool… Read more »
Protomachines LED lights have indeed been unavailable for some time now. I did review RGB Critter lights: https://photofocus.com/reviews/rgb-critter-2-high-quality-rgb-flashlight-for-light-painting/ and they are a viable option, if not ideal due to their interface. But they have a very high quality light. I’ve also used the Luxli Viola, and have also been using the Lume Cube RGB Panel Pro 2.0 lights for some things as well: https://photofocus.com/reviews/review-lume-cube-rgb-panel-pro-2-0-light/ Finally, really nice night photographs, Mark! I saw some of the ones with the Ball of Light Tool as well. But I also love the way you are light painting the buildings, cars, walls, and so… Read more »