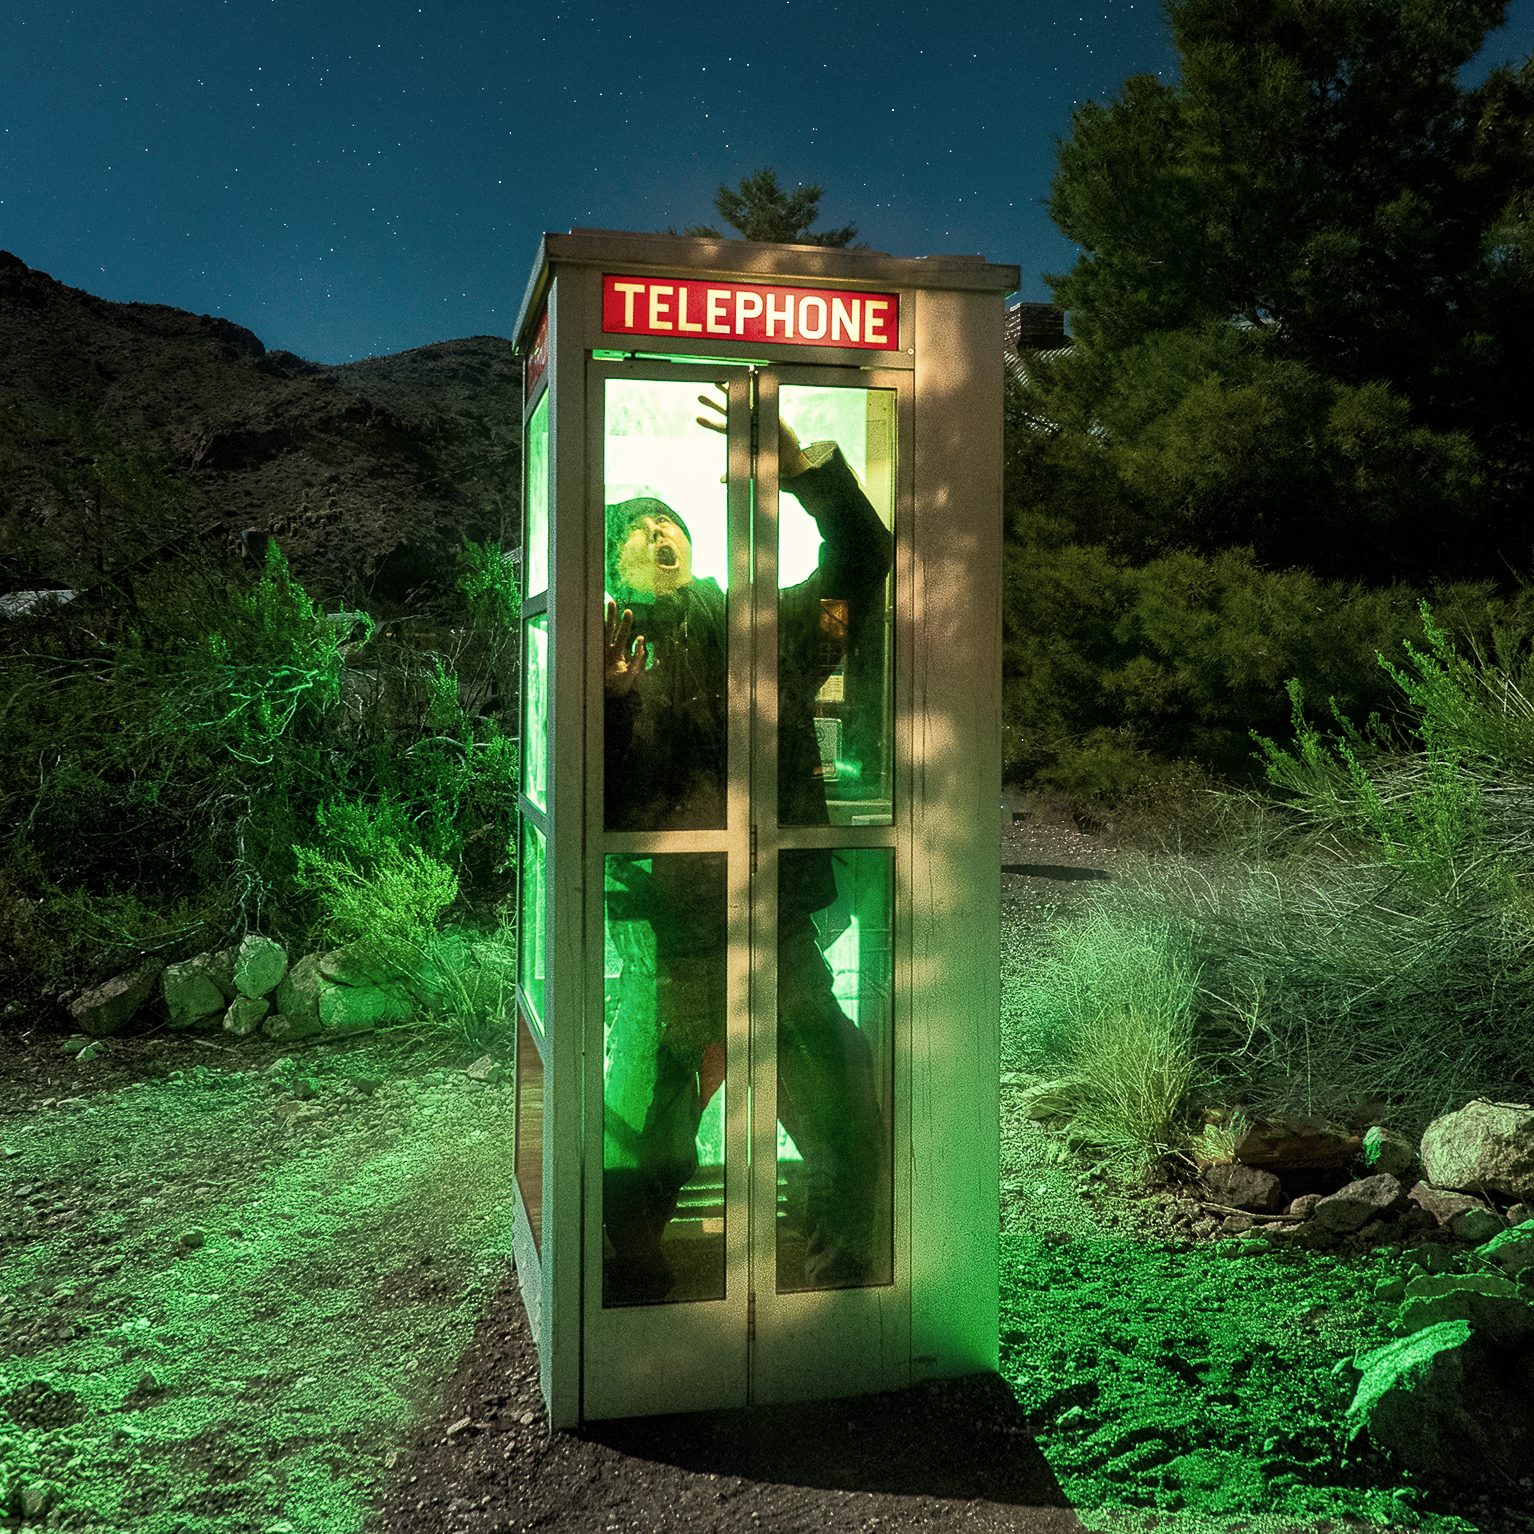
Dodging and burning is a powerful way to add dimension, color, brightness, darkness and more. I will show you two simple ways to do this in Photoshop.
50% gray dodge and burn
This is a great way to non-destructively accentuate the highlight and darkness on an image. Here are the steps.
First, create a new blank layer. It’s easy to do this by going to the bottom of the Layers menu and simply selecting New Layer.
Select Edit > Fill from the top menu. Fill the layer with 50% gray using the Contents drop-down menu. The idea here is that since it’s a 50% gray scale layer, everything that you don’t “paint” will shine through just like normal.


Then, in the Layers Mask section, change Blend Mode from Normal to Overlay or Soft Light. Overlay tends to have more contrast, so I usually begin dodging and burning in Soft Light first.
Finally, start painting. On this layer, use the black and white colors with your brush to dodge and burn portions of the image.
Painting with light
Painting with the color black will burn in portions of the image. Painting with white will dodge and brighten the image. Changing the opacity changes how much of the dodging and burning you see.
We often tend to dodge and burn too much. Lowering the opacity allows you to back off the effect a lot. This is one of the great aspects of non-destructive editing. It also unleashes the power of Photoshop’s layers.
Tip 1: Give yourself even more control
Create two of these gray dodge and burn layers. Label one of them Lighten and the other Darken. This will give you more control should you want to change the opacity later.
Tip 2: Use colors
Don’t just use black and white. Experiment with other colors as well. This can throw open the doors to a lot of different sorts of looks and experimenting. Bring out the painter and unleash your creativity.
Select specific areas for dodging and burning easily
I like to use luminosity masks to target specific areas that I want to dodge and burn. I love Lumenzia. Lumenzia creates an easy-to-use control panel in Photoshop. This allows you can easily create luminosity masks allow you to create gorgeous and realistic edits in Photoshop. You will probably be able to figure out how to do this by poking around on it. However, if you love learning from videos, Greg Benz, who makes Lumenzia, offers many great instructional videos.
Easily selecting the darkest areas of the tree
I took this photo in 2012 with a 12-megapixel Nikon D90. I light painted it with my head lamp. Although this was one of my earliest night photos, I always did like this photo. I decided to dodge and burn the trunk of the tree. Also, I would darken the dark parts a little more to give it a little more contrast. Here’s how I did it.
Select the dark areas with Lumenzia

Using Lumenzia, I simply select 1. This selects the darkest areas of the image. You can already see how powerful this is.

From there, I select Dodge from the menu and follow the prompts from the dialog box.
Painting made easy


I can paint on the gray layer. I can do that with the 50% gray area too. But here, the selection is made for me because of a Layer Mask. The area that I want to target is already selected. I simply paint over that. If I want it darker, I simply paint black. If I want to give the shadows a slight hint of different color, I could do that too!
The possibilities are endless

With dodging and burning, you can brighten or darken specific areas easily and swiftly. You can also add different colors to give something more warmth or alter the color. You can already see how this adds tons of possibilities.
Furthermore, using Lumenzia, you can create Layer Masks for other layers. This might be powerful, for instance, if you want to add noise reduction to only the darkest areas. Or if you select blue or a specific color above, you could apply noise reduction to targeted areas. The possibilities are endless and creative. And best of all, they’re easy to implement.

More words about dodging and burning
Photoshop is immensely powerful. It offers many different ways to dodge and burn and otherwise process photos, much of it similar to being in a darkroom. These are two of the simplest and easiest. Which are some of your favorite ways to dodge and burn? Let us know in the comments below!


Excellent work done, it looks realistic.
Thank you! Sorry, I didn’t see your message until just now for some reason.