

This article and video are about how to create a custom Workspace in Luminar 2018 for editing your DJI RAW images. These are the filters that I work with in Luminar 2018 and this will give you a starting place for your editing. You may also want to read my articles about LUTs and how to use them with your DJI Drone RAW Images.
If you want to follow along then you will need to have Luminar 2018. Click here for Luminar 2018.

On the right are the filters that I use in the video and for working with the DJI RAW files. I rarely use them all, but I often want some combination of them, so keep them all available.
A Couple Other Filters to Explore
- The Tone filter’s Smart Tone control is interesting in that as you increase it, it brightens the darker areas and not the brighter areas and when you decrease it, it reduces the brighter areas, but not the darker areas.

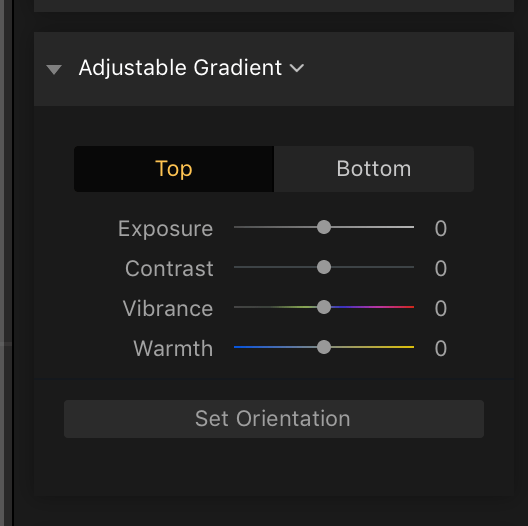
- The Adjustable Gradient Filter is a great replacement for the Top and Bottom Filter as it gives you more control of those areas
- The HSL Filter can be useful for enhancing or reducing the specific saturation and/or luminance of colors in your image and with the brush control, you can select where it is applied

- The Polarizing Filter can be an option to replace or enhance the DeHaze Filter and again, using the brush tool allows you to control what parts of the image it is applied to.

Fast Way to Turn Single View Mode off and on
There is also another way to switch into and out of Single View Mode with Filters. If you click on the Filters drop down to the left of the Add Filters button, it is the third option from the top. See the image below.


