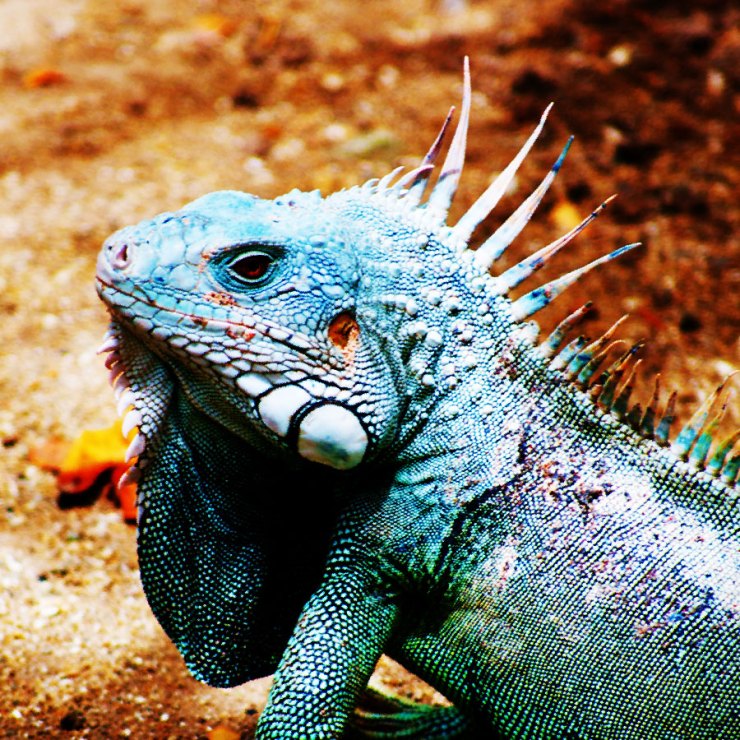
The Diffuse filter is very subtle option in the Stylize set. It may take a few passes to be noticed (especially on a hi-res photo). It attempts to diffuse an image to make the selection look less focused. This can work well to create areas of distress in a photo (especially when combined with blending modes).
1. Select the layer in the Layers panel.
2. Choose Filter > Convert for Smart Filters.
3. Choose Filter > Stylize > Diffuse.
4. Choose a method from the window.
- Normal moves pixels randomly
- Darken Only replaces light pixels with darker pixels
- Lighten Only replaces dark pixels with lighter pixels
- Anisotropic shuffles pixels toward the direction of least change in color
For this example, I used Darken Only.
5. Press Command+F (Ctrl+F) to repeat the filter.
6. Blend each filter by clicking the blending arrow in the Layers panel.
Double-click the blending arrows to access blending modes and fade options
7. Change the mode and opacity for the first filter instance.
Use Mode and Opacity to refine the effect
Options like Multiply, Overlay, or Soft Light tend to work well.
8. Repeat as needed for other instances
The blended filter creates both a pop in contrast and an organic distressing to image details.
___


Very worthwhile post. I’m bookmarking this one. Is this for PS CS 6 or 5?
All versions in last decade